Tips For Packing Old Photos When Moving Long Distances
Get an Instant Online Quote
"*" indicates required fields
Packing old photos is one of those moving tasks that sounds simple—until you start doing it. Suddenly, you’re surrounded by piles of irreplaceable memories, delicate prints, and that haunting worry: What if something happens to them? Whether you’re relocating across the state or the country, preserving your photographs is crucial. After all, you can’t just “replace” a childhood photo or a rare family gathering shot. So, let SkyEx Moving and Storage guide you into packing old photos when moving long distances (for example, when moving within Georgia)— combining practicality, creativity, and a little innovation to make sure your memories are protected for the journey ahead.
Why Is Packing Old Photos So Tricky?
First, let’s ask the obvious: why is packing old photos even an issue? They’re flat, light, and don’t seem as complicated as, say, moving a grand piano. But in reality, photos are highly sensitive to environmental changes like humidity, heat, and bending. Plus, older photographs can be particularly fragile because of outdated printing processes. When you’re facing packing old photos when moving long distances, the time and distance amplify these risks. The longer and bumpier the ride, the greater the chance there is for damage unless you take thoughtful precautions.
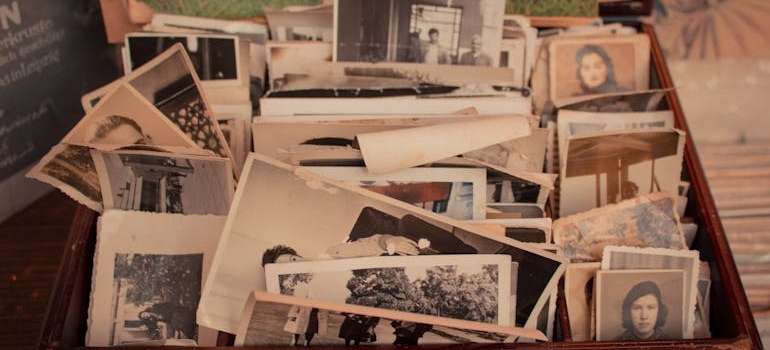
Step 1: Sorting Before Packing — More Important Than You Think
Before you even think about the bubble wrap, take time to sort your photos. Why? Because this is a rare opportunity to categorize, declutter, and even digitize your collection. (And let’s be honest, you probably have photos you don’t even recognize.)
Here’s a creative sorting method that works wonders:
- Emotional Value First: Separate the “must-keep-at-all-costs” photos from the ones that are nice but not essential.
- Chronological Sorting: Organize them by year or event. This helps later when unpacking or restoring albums.
- Physical Condition: Fragile or damaged photos should be packed separately with extra care.
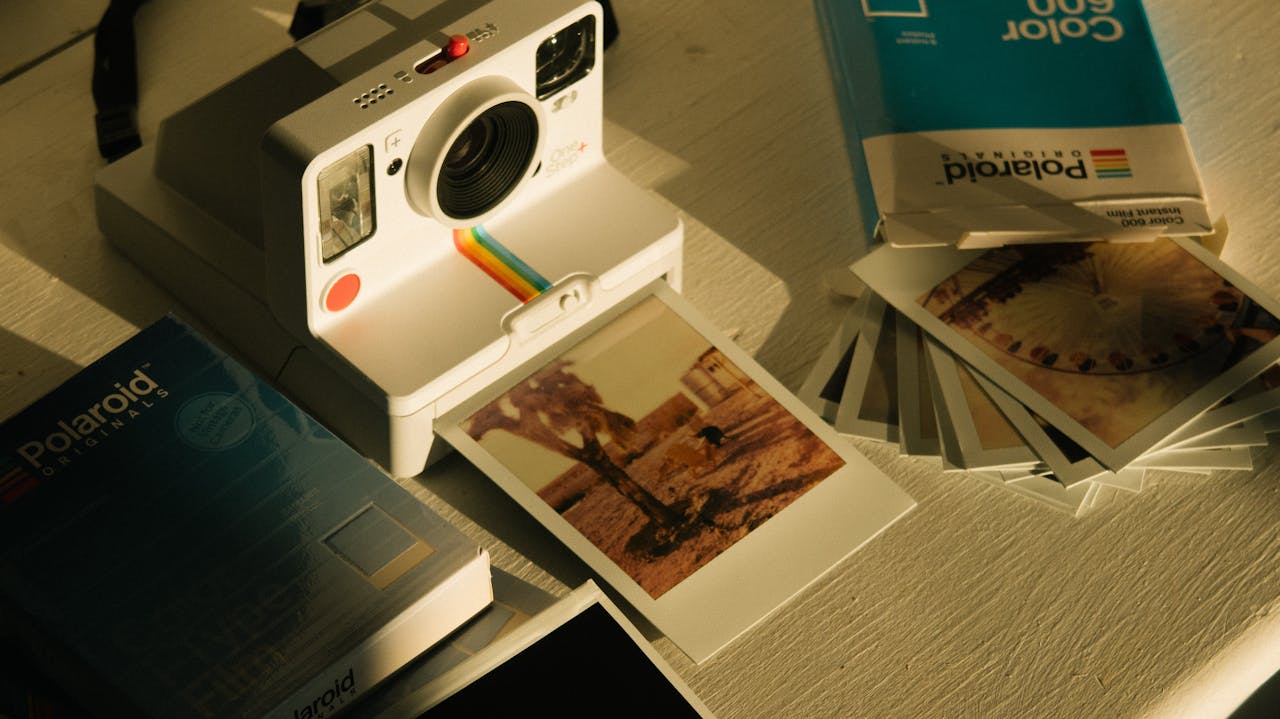
As you sort, take the opportunity to digitize especially important photos. A quick phone scan or a portable photo scanner can offer a backup in case the worst happens during your move. Wondering if it’s worth the effort to digitize? Imagine losing your wedding photos to a spilled coffee cup during the move. Suddenly, scanning sounds like a tiny price to pay.
Step 2: Choosing The Right Packing Materials
Not all packing materials are created equal, especially when you’re packing up old photos. Forget the regular cardboard box and newspaper method—those materials can cause serious damage. Here’s what you should gather:
- Archival photo boxes (acid-free)
- Photo-safe tissue paper (also acid-free)
- Plastic sleeves for individual prints
- Rigid folders or flat boxes for stacking
- Silica gel packets (to control moisture)
- Sturdy outer box for transport
- Bubble wrap and foam padding (optional, but useful)
By investing a little extra in proper materials, you’re essentially buying insurance for your memories. However, you won’t have to search for packing supplies if you book the packing services Marietta movers offer when moving long distances from, to, or within Georgia.
Step 3: How To Pack Photos Like a Pro
Now comes the actual packing. Follow this step-by-step method:
- Protect individual prints: Slip each photo into a plastic sleeve or wrap it in photo-safe tissue paper.
- Group strategically: Place similarly sized photos together. If you’re stacking, ensure that each layer is protected with a tissue sheet.
- Use rigid support: Place the groups between two rigid pieces of cardboard or use archival folders to prevent bending.
- Layer with care: In your box, put heavier items at the bottom and lighter ones at the top. Insert silica gel packets between layers to absorb moisture.
- Seal and label clearly: Close the box firmly but not so tightly that it warps the photos. Label it: Fragile — Photos — Keep Upright.
Still wondering if it’s overkill? Picture arriving at your new home only to find a soggy, curled mess where your childhood memories once lived. Proper packing avoids that heartbreak.
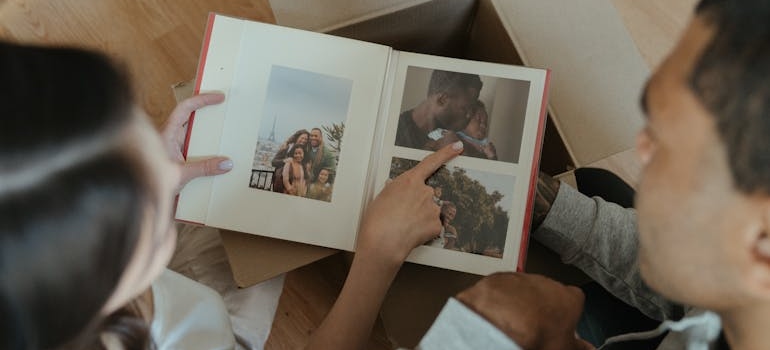
Step 4: Special Tips for Albums and Framed Photos
When it comes to albums and framed photos, a little extra care goes a long way. For photo albums, it’s best to wrap each one individually in bubble wrap to protect the covers and pages, then store them flat rather than upright to avoid any chance of warping during the move. Framed photos need their own special attention too — use corner protectors to guard against dings, wrap them securely in bubble wrap, and place them inside a picture moving box built specifically for frames. Be sure to add soft padding around each frame so they don’t shift around in transit. If you’re facing a long, hot journey and have delicate, antique albums, here’s a creative tip: pack them in a small cooler with properly sealed ice packs. It might sound unusual, but it can make all the difference when it comes to shielding your most fragile memories from extreme heat.
Step 5: Moving Day — Keep Photos With You
Packing old photos when moving long distances demands a critical rule: keep your photos with you if possible. If you’re driving, place the photo boxes in the climate-controlled passenger area, not the trunk. If you’re flying, pack them in your carry-on, not checked baggage. Never let irreplaceable photos out of your sight. Why? Because moving trucks can sit in the sun for hours. Temperatures inside can soar, and your photos are sensitive to that kind of exposure.
Step 6: After the Move — Acclimate and Unpack Carefully
Once you arrive, resist the urge to immediately rip open the photo boxes. Let them sit in your new home for at least 24 hours. This allows the materials to acclimate to the new environment’s humidity and temperature gradually. When you do unpack, check each item carefully for signs of moisture or warping. If you notice anything off, allow the photos to dry slowly at room temperature—never try to speed things up with a hairdryer or heater!

Innovative Ideas For Packing Old Photos
If you’re looking for even more ways to protect your memories when packing old photos when moving long distances, a few extra steps can make a world of difference. For starters, think about DIY climate control — packing your photos inside insulated cooler bags or soft-sided coolers can help shield them from extreme temperatures without much extra cost.
If your collection includes rare or historical photos, it’s also worth looking into moving insurance that specifically covers irreplaceable items — because peace of mind is priceless. Finally, don’t underestimate the power of a digital photo backup. Before you even start packing, upload scanned copies of your most important photos to a secure cloud service. That way, even if the unexpected happens, your family’s history will always be safe.
Final Thoughts: Your Memories Deserve Thoughtful Care
When it comes to packing old photos, a little extra preparation goes a long way. Whether you’re moving across the country or just a few states over, the emotional value of your photos makes them some of the most important items you own. Approaching packing old photos when moving long distances with the right strategy isn’t just smart—it’s an act of love for your past and your family’s story. Taking the time now to sort, protect, and transport them carefully means you’ll get to enjoy those memories for decades to come. And honestly, isn’t that what moving—starting a new chapter while honoring the old—is all about? And for a safe photo relocation, rely on long distance movers Atlanta GA offers.